Measuring accurate rigs and traces can be a pain, particularly when using rig glue, here David Proudfoot explains how to make a simple rig jig.
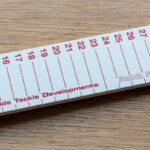
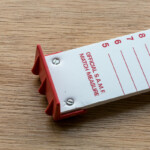
There are retail rig jigs available for sale but these are priced at over £120 and are out of the range of the average angler’s wallets. All that is really needed is a piece of wood and a method of clamping the trace bodies in place for gluing. However, a more accurate jig can be produced by attaching a length of steel tape measure on to the board or by using one of Ian Golds’ match measures in the one metre length.


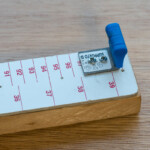
If using the match measure, remove the head piece and drill holes to allow it to be located securely in place. In the case of the steel tape, cut to an appropriate length, drill and screw in place.

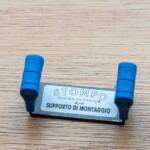
Cut a Stonfo line clamp in half using a fine bladed hacksaw, drill and secure at either ends of the board and measure. Ensure that the blue clamping section matches with the zero and 100cm markings.

The line can then be tensioned between the two stops and the two-way beads and tube or micro beads located at the chosen measurements. It should be possible to locate two or more snood positions between the one metre gap.
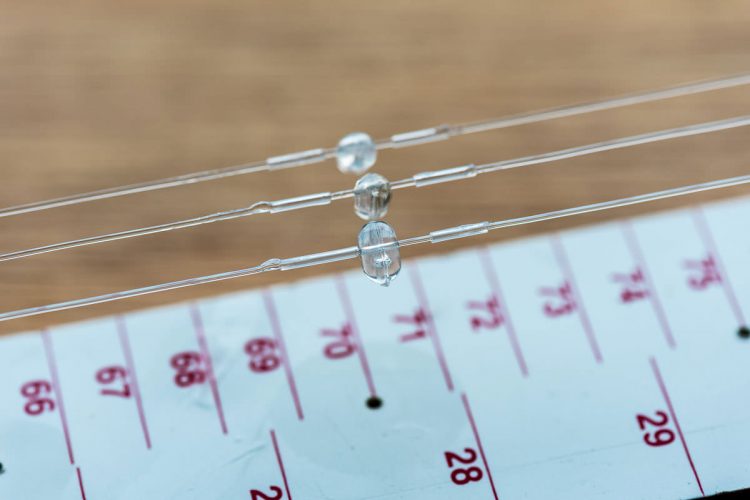
I used to use micro beads and glued stops to secure the two-way beads but I have switched to the matched diameter rig tubing making sure to closely match the internal bore of the tubing to the diameter of the line used for the rig body. The secret is to apply the glue to the line on the outer side of the tube, away from the bead, before slipping the tube back over the blob of glue. This leaves a clear surface for the bead to rotate and keeps the glue way from the bead.
The rig can also be used to replicate the position of crimped swivel snoods and helps with tensioning a clipped rig.

